
I’ve been working on a new mini-album and wanted to share the very economic album I’m using. I cut down a 6″ x 8″ chipboard binder to fit traveler’s notebook-sized pages! I originally got the idea from Jessica Rubio, who cut down the same binder to 3″ x 8″ for her trip to Mexico. I wanted to do the same thing, but slightly wider, to accommodate TN pages.
While I love working in the traveler’s notebook format, I don’t love the limitation on bulky items and odd-sized pages. I also don’t always scrapbook chronologically which means using a traditional notebook can sometimes be a challenge when my mini-album is ordered chronologically. I like being able to jump around and move things if I need to.
Cutting down the binder is pretty straightforward. When you’re finished, you will have an album that will fit standard size TN pages (4.25″W x 8.25″H), or pages of up to 5″W x 8.25″H (this is the width adjusted when the TN paper is in a page protector).

I am using this 6″ x 8″ chipboard binder from Hobby Lobby (but you could probably use another 6″ x 8″ binder). It has a 1.5″ spine, 3-ring configuration, and comes with some page protectors. It retails for $6.99 but the store was having a sale on this entire brand (The Paper Studio) so I got it for $3.50 + tax.
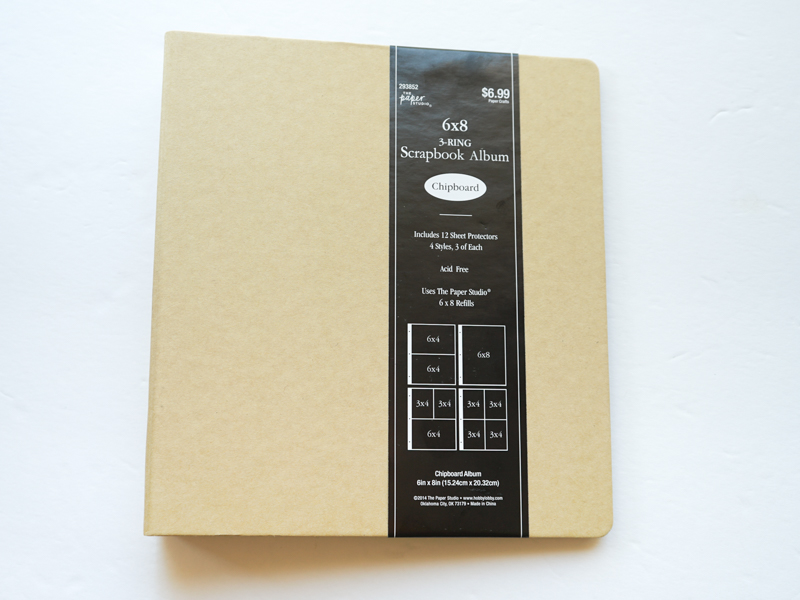
For this project, you will need:
- a binder
- a box cutter, x-acto knife, or something similar to cut with
- a ruler
- a pencil
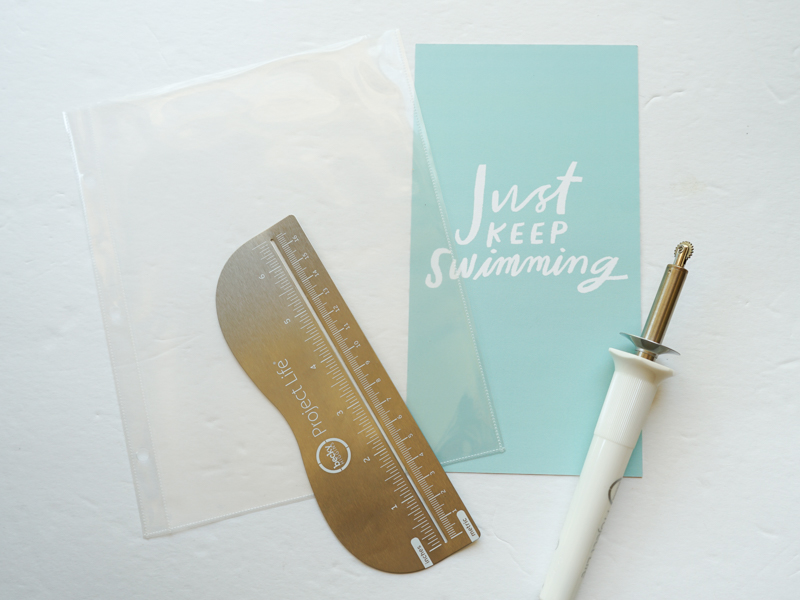
- Fuse tool, for page protectors (optional)
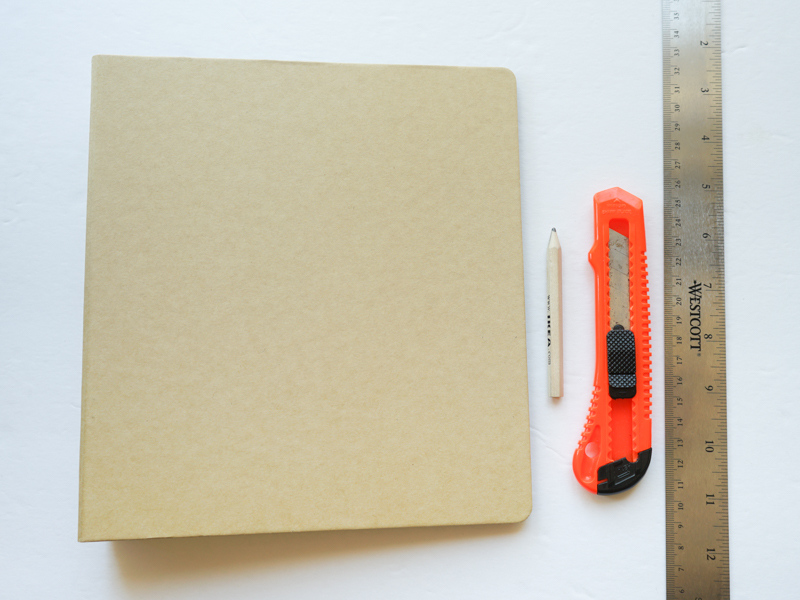
First, I measured 1.5″ from the edge of the binder with my ruler and pencil. I marked the inside of the binder, but it doesn’t really matter since it’s pencil and can be erased later if the line isn’t completely cut away.

Next, using my ruler and box cutter, I cut through the binder along the line. As you can see, I don’t have a proper cutting mat but just layered several layers of newspapers under the album. You will definitely want something underneath your cutting area to avoid damaging your work surface.
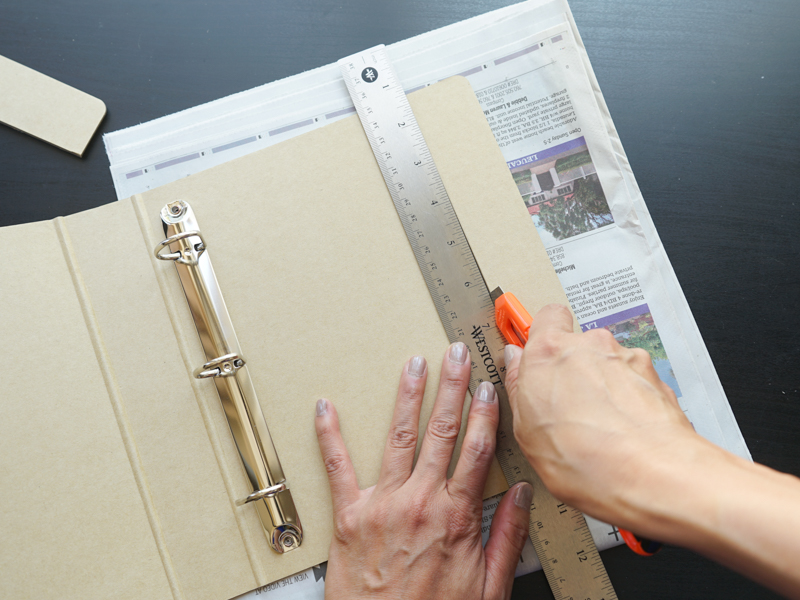

The box cutter cut pretty cleanly for me but if your cut wasn’t as clean, you could probably clean it up with some fine sandpaper.

That’s it! Now you have an album that will fit TN-sized pages nicely. You can add them directly into the album by punching holes into the papers!
But, if you don’t want to do that, you can also use page protectors…
Page Protectors
If you’d like to use page protectors in the album, the album does come with 12 page protectors. There are 4 different configurations, 3 of each kind. Hobby Lobby also sells refill packs of these 6″ x 8″ page protectors. They come in a pack of 16 (4 each of the 4 different configurations) for $4.99. Unfortunately, I am only interested in the 1 full page pocket configuration and it doesn’t seem like they sell packs of just this type of configuration. But at $2.50/package (again, there was a 50% sale when I went into the store), it was still pretty cheap. I can also use the 4 pocket configuration as a two 3″ x 4″ pocket configuration in this album by just cutting off the other two pockets.

To make the page protectors fit in the album, I used my Fuse tool to fuse a line down so a TN (4.25″ x 8.25″) paper would fit.
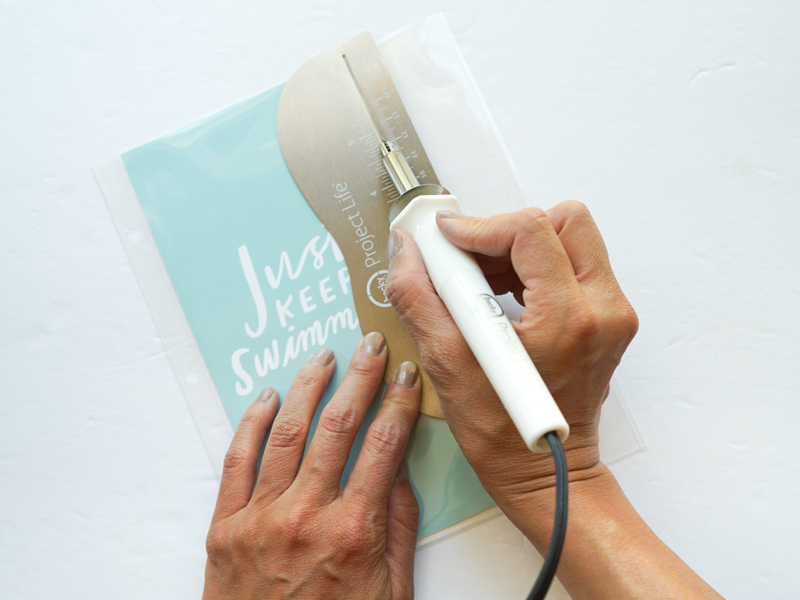
So there you have it! I’m pretty happy with how this turned out will probably do it again. I only know of one company at this time that makes a similar sized album, but it costs a lot more! The cost for this album was about $6 ($3.50 + $2.50).
With 1 refill pack and the page protectors that came in the album, I ended up with seven full page protectors and seven 2-(3″ x 4″) pocket page protectors (but you could easily make more with the leftover 14 page protectors using the Fuse tool). And if you need more than 7 full page protectors, it’s cheap enough to buy more refill packs (what I will probably do).
Now I’ve got an album where I can add TN pages, with or without page protectors, 3″ x 4″ pocket cards, and different-sized odd cards as well:

As you can see, I’ve already started working on my album and will share more about these pages soon! 🙂
I hope this post was helpful!
20,608 responses to “DIY Traveler’s Notebook Album”
Great weblog right here! Also your site so much up fast!
What web host are you the usage of? Can I am getting your associate hyperlink in your host?
I wish my site loaded up as quickly as yours lol
Also visit my web-site – vpn special
Heya i am for the first time here. I came across this board and I find Ittruly useful & it helped me out much. I hope how to lose weightgive something back and help others like you aidedme.
http://tadalafiliq.shop/# Buy Tadalafil 10mg
https://kamagraiq.com/# buy kamagra online usa
It’s in reality a great and useful piece of information. I’m glad that you simply shared this usefulinfo with us. Please keep us up to date like this.Thank you for sharing.
Cialis without a doctor prescription [url=http://tadalafiliq.shop/#]cheapest cialis[/url] Cialis 20mg price
phising
scam
lost money
buy kamagra online usa: Kamagra Iq – Kamagra 100mg
cheapest viagra [url=http://sildenafiliq.com/#]sildenafil iq[/url] Sildenafil 100mg price
Buy generic 100mg Viagra online: best price on viagra – over the counter sildenafil
http://tadalafiliq.com/# cialis for sale
https://tadalafiliq.shop/# cialis for sale
Buy generic 100mg Viagra online: generic ed pills – Buy generic 100mg Viagra online
https://sildenafiliq.com/# Order Viagra 50 mg online
Generic Cialis without a doctor prescription [url=https://tadalafiliq.shop/#]Generic Tadalafil 20mg price[/url] Buy Tadalafil 20mg
https://sildenafiliq.com/# viagra canada
Kamagra tablets [url=http://kamagraiq.shop/#]Kamagra Iq[/url] sildenafil oral jelly 100mg kamagra
Kamagra Oral Jelly: Kamagra Iq – Kamagra 100mg price
Kamagra tablets: Kamagra gel – Kamagra Oral Jelly
http://tadalafiliq.shop/# Buy Tadalafil 20mg
https://sildenafiliq.com/# cheap viagra
http://sildenafiliq.xyz/# sildenafil over the counter
Cialis 20mg price [url=http://tadalafiliq.com/#]cialis without a doctor prescription[/url] cheapest cialis
kamagra: Kamagra Oral Jelly Price – kamagra
https://sildenafiliq.xyz/# Viagra online price
https://kamagraiq.shop/# buy Kamagra
Buy Viagra online cheap [url=https://sildenafiliq.com/#]Generic Viagra online[/url] order viagra
Заказывал входную дверь на https://dveri-msk1.ru и был удовлетворен результатом. Сайт удобный, ассортимент богатый, без труда подобрал модель по необходимым параметрам. Консультанты были отзывчивы и компетентны, ассистировали в подборе. Дверь привезли и установили точно в срок, качество работы монтажников на высоте. Цены конкурентоспособные, качество самой двери отличное – чувствую себя в безопасности. Рекомендую!
http://tadalafiliq.shop/# Buy Tadalafil 10mg
http://tadalafiliq.com/# Generic Tadalafil 20mg price
http://tadalafiliq.com/# Buy Tadalafil 20mg
sildenafil oral jelly 100mg kamagra: Kamagra Oral Jelly Price – Kamagra tablets
https://mexicanpharmgrx.com/# mexican mail order pharmacies
canada drug pharmacy: CIPA approved pharmacies – ed drugs online from canada
india pharmacy: indian pharmacy – Online medicine home delivery
canadian drugs [url=https://canadianpharmgrx.com/#]Certified Canadian pharmacies[/url] canada cloud pharmacy
how long does it take for protonix to work
mexican rx online [url=http://mexicanpharmgrx.shop/#]online pharmacy in Mexico[/url] mexican pharmacy
lost money
https://indianpharmgrx.com/# online pharmacy india
trustworthy canadian pharmacy: Pharmacies in Canada that ship to the US – canadianpharmacyworld com
mexican border pharmacies shipping to usa: online pharmacy in Mexico – mexico drug stores pharmacies
mexican rx online: mexican pharmacy – best online pharmacies in mexico
п»їbest mexican online pharmacies [url=https://mexicanpharmgrx.shop/#]mexican pharmacy[/url] buying prescription drugs in mexico online
scam
phising
lost money
Fantastic! I recently read your article and I’m thoroughly impressed. Your insight on this subject is spot-on. It really made me think and am eager to see what you write next. Thanks for sharing!